Microgreens – Benefits and How to Grow Microgreens at Home
In the recent past, microgreens have emerged quite popular. They have multiple benefits to health, as they are rich in nutrients and also they have a delicious flavour, similar to the bigger version of these microgreens.

These microgreens are simple and easy to grow at home and give you good results in a short span of time.
So, let’s talk about microgreens, their benefits and how to grow them at home.
What are Microgreens?
Microgreens are nothing but seedlings that grow into small (micro) plants of edible herbs and vegetables.
Most often vegetables and herbs take time to grow, say a few weeks or months. Well, with microgreens, that is not the case. Microgreens grow quick and can be harvested and even eaten within just 7 to 10 days.
Microgreens are added into salads, sandwiches, to top fish, chicken and steaks as a garnish etc.
It is essential to remember that microgreens are not the same as sprouts. While microgreens are germinated in soil, sprouts are germinated in water.
Benefits of Microgreens:
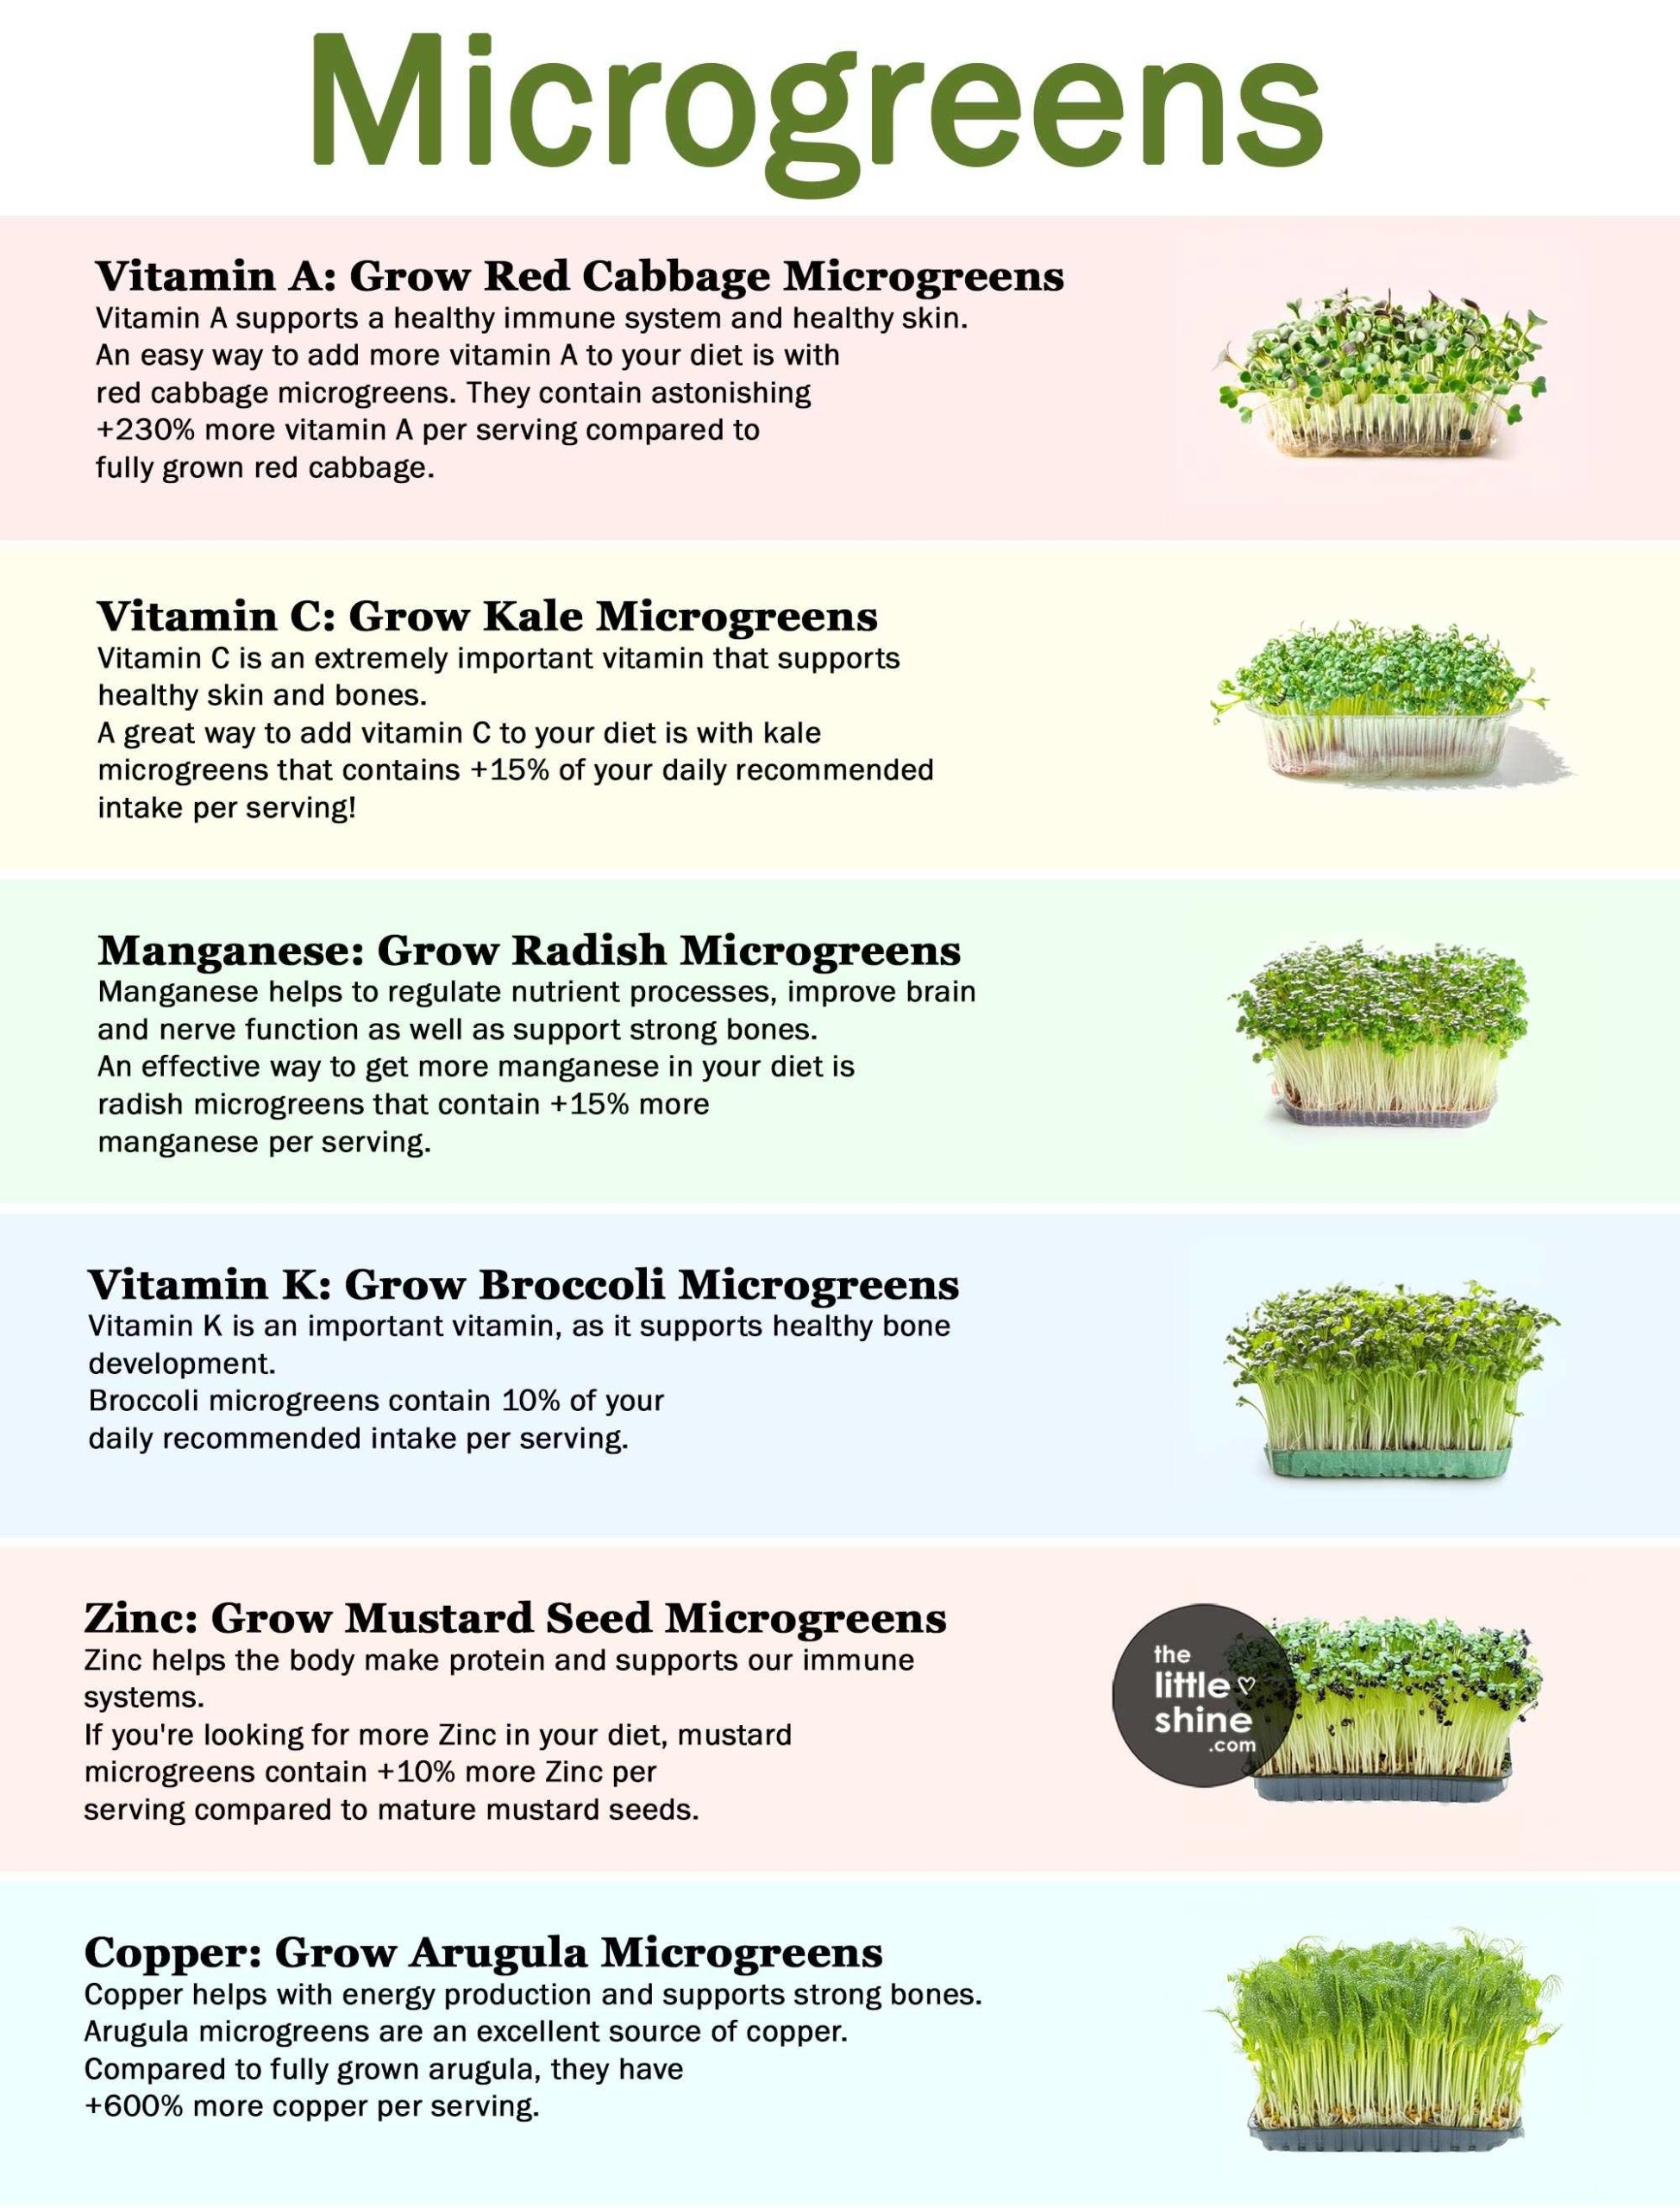
- Microgreens are rich in nutrients like potassium, copper, iron, zinc, magnesium etc.
- They are rich in fibre, vitamins and minerals.
- The antioxidant levels in microgreens are very high.
- Microgreens can help reduce the risk of many diseases like heart disease, Alzheimer’s disease, diabetes, some types of cancers etc.
- They can help keep blood pressure in check.
- Microgreens can help reduce the risk of anemia.
- They can help protect vision.
- Microgreens can help detoxify the body.
Types of Microgreens
Microgreens for the Purpose of Color
You can use kale, rainbow chard, purple basil, red amaranth, oriental mustard, red cabbage etc., in case you are looking for microgreens to add color to a salad, sandwich, burger etc. These microgreens often have a neutral taste, but are rich in color.
Microgreens for the Purpose of Crunch
Microgreens like pea shoots, sunflower, pak choi, fava bean shoots etc., are well-known for their delicious taste and crunchy texture.
Microgreens for the Purpose of Taste
Some microgreens have a strong and punchy taste. All herbs like basil, cilantro, chives, fennel, dill, sorrel etc., have strong tastes. Some other non-herbs too like radish, arugula, mustard etc., have strong tastes.
How to Consume Microgreens the Right Way
Microgreens are delicate in nature and cannot be cooked. They are just for the purpose of garnish or to toss into dishes just before serving. They can be tossed into salads, sandwiches and burgers, to be eaten raw.
Best Microgreens to Grow at Home: Pros and Cons
Some of the best microgreens to grow at home are cilantro, sweet onion, fennel, radish, broccoli, red cabbage, spinach, kale etc.
Pros:
- They are quick to harvest.
- Microgreens can be grown all through the year.
Cons:
- Microgreens have a short shelf-life.
- Their seeds can be expensive.
- They need to be harvested at the perfect time.
How to Grow Microgreens at Home?
Step 1: Fill a shallow tray or a wide container with fine seed compost and compress it lightly.
Step 2: Sprinkle the microgreen seeds thickly all over the soil (do not bury) and water it using a fine nozzle bottle.
Step 3: Cover the tray or container with a cardboard, in order to keep the seeds in darkness until they begin to germinate.
Step 4: Once the seeds begin to germinate, remove the cardboard.
Step 5: Continue to water and let the microgreens continue to grow, while kept open/uncovered.
Step 6: Once grown, harvest by cutting the stems with a pair of scissors, near the level of the soil.
Note: Make sure to harvest and consume the microgreens immediately.

